


student-portal-2fa

Beginning Monday February 14th, 2022 students will be prompted to set up two-factor authentication (2FA) on their Student Portal accounts. This introduction of two-factor authentication is a security measure designed to better secure your account and personal data. When you login to the Student Portal on Monday 14th February, you will be prompted with an option to set up your 2FA, change your password and update your security questions.
What is Two Factor Authentication (2FA)?
Two-Factor authentication is an extra layer of protection used to keep your account secure. It neutralises the risks associated with compromised passwords, as a password obtained by an intruder will not be enough to grant them access to your account once 2FA is enabled. Whenever you log in to your account you will be prompted to enter a code sent to your email address or your phone via text message. This way, you can stay in control of your account even if your login credentials are stolen.
How to set up Two-Factor Authentication?
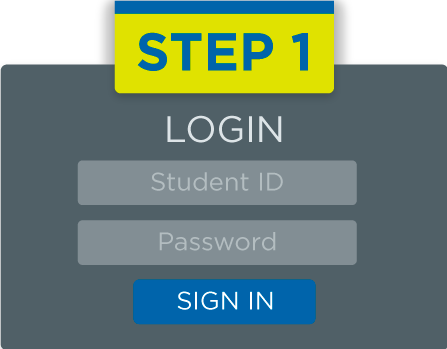
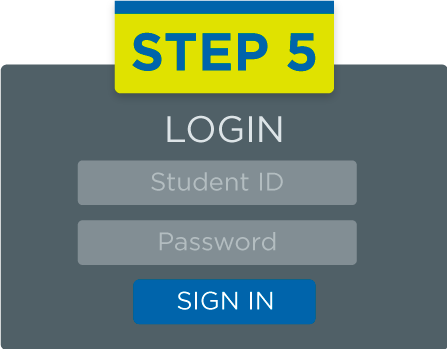
Log in to the Student Portal at https://my.uwi.edu/web/mycampus/home as you are accustomed to doing. You will first be shown a prompt which reads “You have not setup your password recovery options. Do you want to set it up now?” Click “Set up Password Recovery.” You will then be shown your student ID number and asked to re-enter your password to allow you to set up your account recovery settings. If you do not see the prompt upon logging into the portal, please click “Account Recovery” in the black menu bar near the top of the screen.
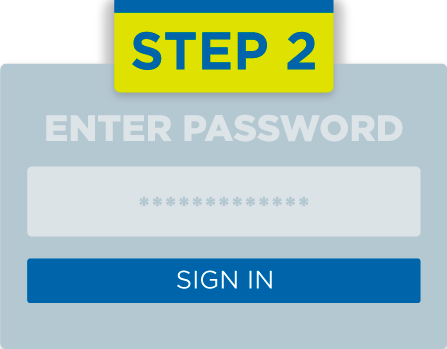
Re-enter your password and click the "Sign in" button. You will be taken to the "Account Recovery Settings" page. This is where you set up your Security Questions, Email Recovery and Phone Recovery options.If you forget your password, you will use one of these options to sign in to change your password.

Select four different security questions from the drop-down lists. Be sure to submit an answer which you would remember for each one and then click the "Submit" button. You will get a message confirming that your security questions have been saved.
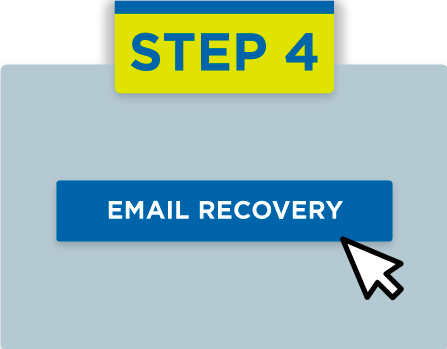
Click on "Email Recovery". Enter an email address (other than your UWI email) which you can easily access and click "Submit". You will see a message in a popup window stating that a security code has been sent to the email address you entered and asking for the verification code.
Check your email for an email message with the subject "Verification Code for Email Recovery" from donotreply@quicklaunnchsso.com which will give you a verification code.
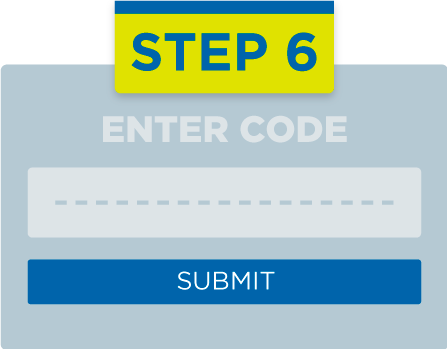
Enter the code which you received and click "Submit". The email recovery window will now display a green tick to indicate that your recovery email address has been verified
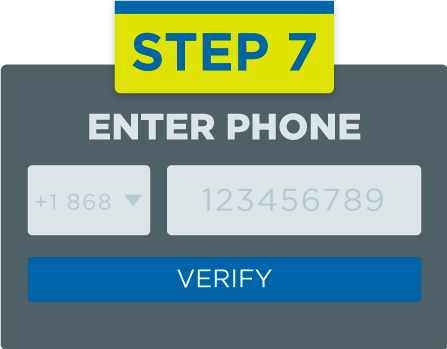
Click on "Phone Recovery" and select the country where your phone number is registered. Choose your country code and then enter your phone number. Click the "Verify" button.
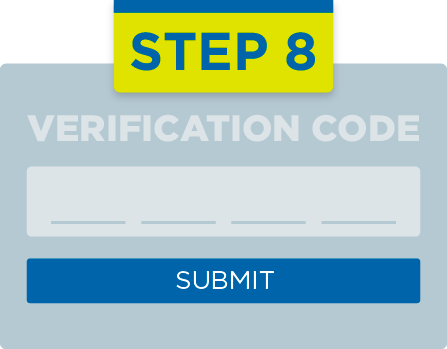
Enter your verification code. A popup window will ask you to enter your phone verification code. You should have received an SMS message of the form "Hi , xxxxxxx is your verification code. Regards, Quicklaunch SSO" where xxxxxxx is your verification code. Enter the code and click the "Submit" button. The screen will now display your phone number with a green tick in a window which says "Verified".
Click "My Applications" to get to the portal dashboard.


